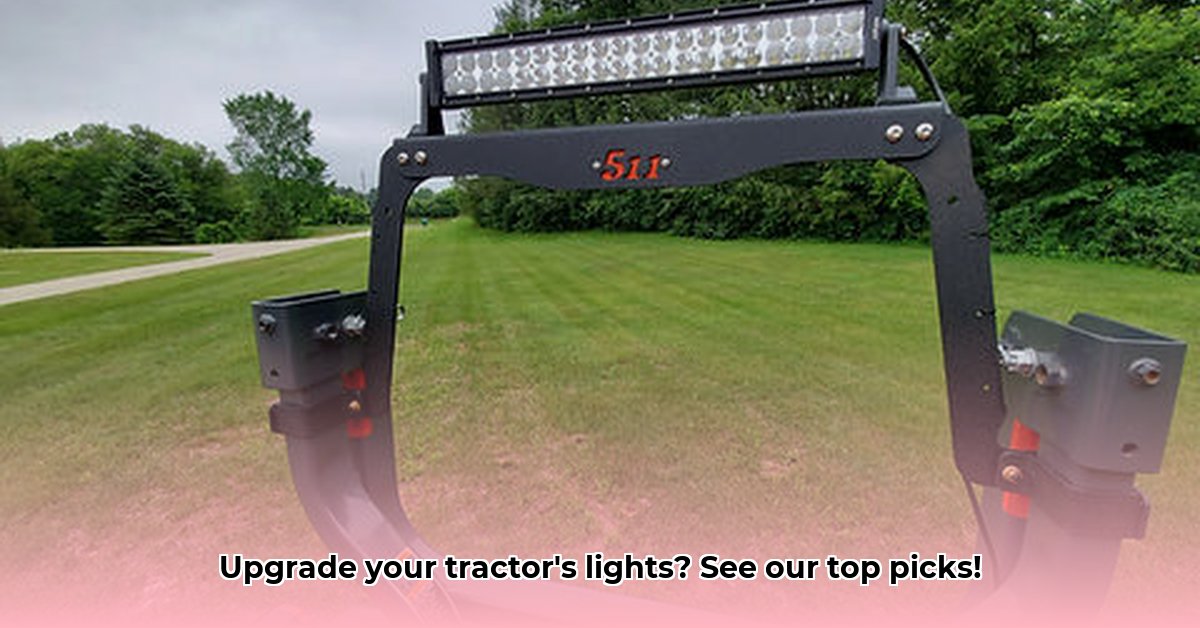
Light Bar on Tractor: Illuminating Your Farm's Future
Nighttime farming presents unique challenges. Poor visibility significantly impacts safety and productivity. A high-quality tractor LED light bar dramatically improves nighttime visibility, enhancing safety and boosting operational efficiency. This guide provides a comprehensive approach to selecting and installing the perfect light bar for your specific farming needs. We'll demystify technical specifications and guide you through a step-by-step installation process, ensuring a brighter and safer future for your farm. For more options, check out these tractor lights.
Understanding Key Features: Decoding the Specs
Before selecting a light bar, understanding key specifications is crucial. This section explains essential terms and their impact on performance.
Lumen Output (lm): This indicates the light bar's brightness. Higher lumen values signify brighter illumination, enabling better visibility over longer distances. Think of it as the "wattage" of light, but a more accurate measure of brightness.
Beam Pattern: This describes how the light is distributed.
- Spot: A focused, long-range beam, ideal for distant illumination.
- Flood: A wide, dispersed beam, perfect for illuminating a broader area closer to the tractor.
- Combo: A combination of spot and flood patterns, offering versatility.
Weatherproofing (IP Rating): This rating indicates the light bar's resistance to dust and water. Higher IP ratings denote greater protection. For example, IP67 means the light bar is dust-tight and can withstand temporary submersion in water. Choose a rating appropriate for your climate and farming conditions.
Power Consumption (Watts): This specifies the light bar's electrical demand. Higher wattage generally equates to greater brightness but increases the load on your tractor's electrical system. Ensure your tractor's electrical system can handle the chosen wattage.
Choosing the Right Tractor Light Bar: Finding Your Perfect Match
Selecting the ideal light bar depends on several factors specific to your operations.
Tractor Size and Type: Larger tractors often require more powerful light bars than smaller models. Consider the physical dimensions of your tractor to ensure proper fit and mounting.
Farming Practices: Your farming activities impact the required beam pattern. Open-field operations might benefit from flood patterns, while more precise tasks might necessitate spot patterns.
Budget: Light bars range widely in price. Balance your budget with desired features and performance.
Warranty: A comprehensive warranty from a reputable manufacturer provides peace of mind and protection against defects.
Example Comparison: (Note: Specific models and pricing will vary based on market conditions.)
| Feature | Budget Option | Mid-Range Option | Premium Option | Considerations |
|---|---|---|---|---|
| Lumen Output (lm) | 8,000 | 12,000 | 18,000 | Higher lumens = greater visibility; consider power draw. |
| Beam Pattern | Flood | Spot/Flood | Spot/Flood/Combo | Match beam pattern to your farming tasks. |
| IP Rating | IP65 | IP67 | IP68 | Higher ratings mean better weather resistance. |
| Mounting System | Clamp-on | Bolt-on | Integrated | Ensure compatibility with your tractor's mounting points. |
| Warranty (Years) | 1 | 2 | 3 | Longer warranties signify greater manufacturer confidence. |
| Price Range ($) | 100-200 | 200-350 | 350-500 | Balance cost, features, and performance. |
Installation Guide: A Step-by-Step Approach
Installing a light bar requires careful attention to safety and proper wiring techniques.
Step 1: Planning: Identify a suitable mounting location that provides optimal visibility and structural support. Avoid areas that may obstruct other equipment or create blind spots.
Step 2: Preparation: Clean the mounting area thoroughly to ensure a secure connection. Remove any dirt, grease, or loose paint.
Step 3: Mounting: Securely attach the mounting brackets, carefully following the manufacturer's instructions. Ensure proper alignment and stability.
Step 4: Wiring: Always disconnect the tractor's battery before starting any electrical work. Use appropriately sized wiring and install a fuse as specified by the manufacturer. Improper wiring can cause serious damage.
Step 5: Securing the Light Bar: Attach the light bar to the mounted brackets ensuring a firm, vibration-free fit.
Step 6: Testing: Reconnect the battery and thoroughly test the light bar's functionality. Check all functions before starting any farming operations.
Maintenance and Troubleshooting
Regular maintenance prolongs the light bar's lifespan and optimal performance.
- Regular Cleaning: Remove dust, mud, and debris to maintain light output.
- Wiring Inspection: Periodically check wires and connectors for damage or loose connections.
- Prompt Problem Solving: Address minor issues promptly to prevent costly repairs.
Regulatory Compliance: Staying on the Right Side of the Law
Always ensure your light bar complies with all applicable local and national safety standards and regulations. This ensures safety and avoids potential legal issues.
Conclusion: A Brighter, Safer Future
Investing in a high-quality tractor LED light bar is an investment in safety and efficiency. By carefully considering the factors outlined above and following the installation and maintenance guidelines, you can significantly improve your nighttime farming operations. Remember, informed decision-making leads to a safer and more productive farm.